Why VNPs Are the Most Cost-Effective Classroom Upgrade
Schools face constant pressure to improve instruction while protecting budgets. Many upgrades cost a lot, take time, or fail to change daily learning. VNPs offer a low-cost upgrade with fast impact and a long service life.

What VNPs Mean in Plain Language
VNPs are vertical non-permanent surfaces. Students write on them, erase fast, and keep working. You get more visible work without buying new curriculum or adding new devices.
Why VNPs Win on Cost
Most upgrades fall into one of three buckets:
- High cost and high maintenance: Examples include interactive displays, replacement projectors, and device refresh cycles.
- Low cost and low impact: Examples include posters, small add-ons, and short-term incentives.
- Low cost and high impact: VNPs sit here. You improve daily instruction, not tools students use once a week.

Where the Savings Show Up
- Lower upfront spend: You avoid big-ticket purchases tied to screens, mounting, wiring, and ongoing support.
- Fewer recurring costs: Markers and cleaning stay simple. You do not add subscriptions, licensing, or device warranties.
- Less downtime: You avoid long install windows and room closures tied to construction or heavy demo work.
- Longer useful life: A writing surface stays relevant year after year. Instructional use does not expire.
Budget Math Administrators Care About
Ask two questions before you approve an upgrade.
How many classrooms change daily?
If an upgrade only reaches a few rooms, your cost per student rises fast.
How many minutes of learning time return each week?
If teachers avoid a tool, the real cost rises, even when the price tag looks low.
VNPs score well on both. You place surfaces where students work every day. You reduce bottlenecks around shared devices and limited wall space.
Fast Instructional Payoff Without New Programs
VNPs support routines teachers already run:
- Small-group problem sets: Students write, compare, revise, and move on.
- Quick checks for understanding: Teachers scan work, spot errors, and respond faster.
- Reteach and intervention blocks: Groups show steps, not guesses. Teachers target support.
- SPED and small-group rooms: Students get space to externalize thinking and stay engaged.
What to Prioritize First
Start with spaces where you feel the most friction.
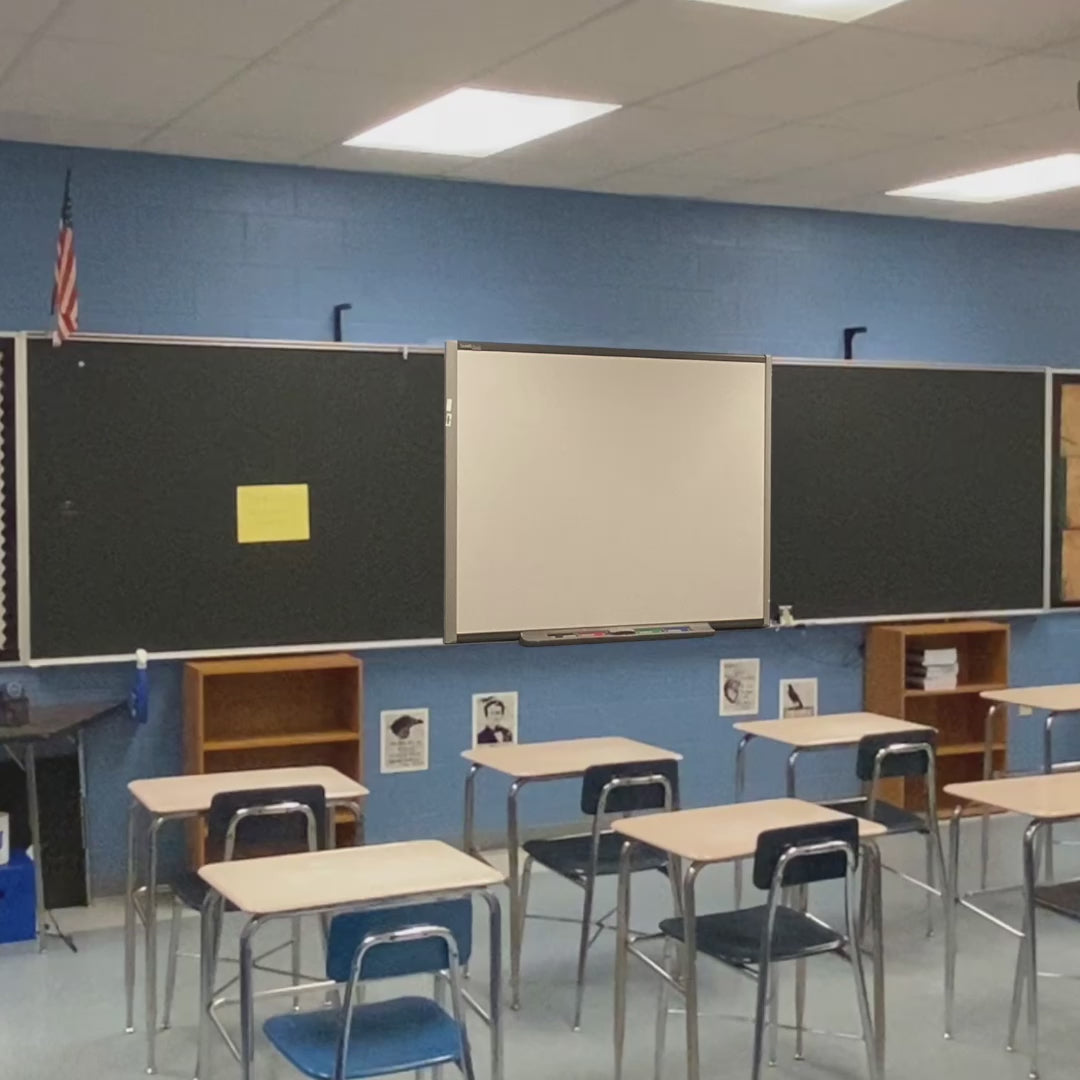
- Rooms with one overused board: Teams fight for space. Students wait for turns.
- Rooms with crowded desks: Students struggle to share work. Teachers struggle to see work.
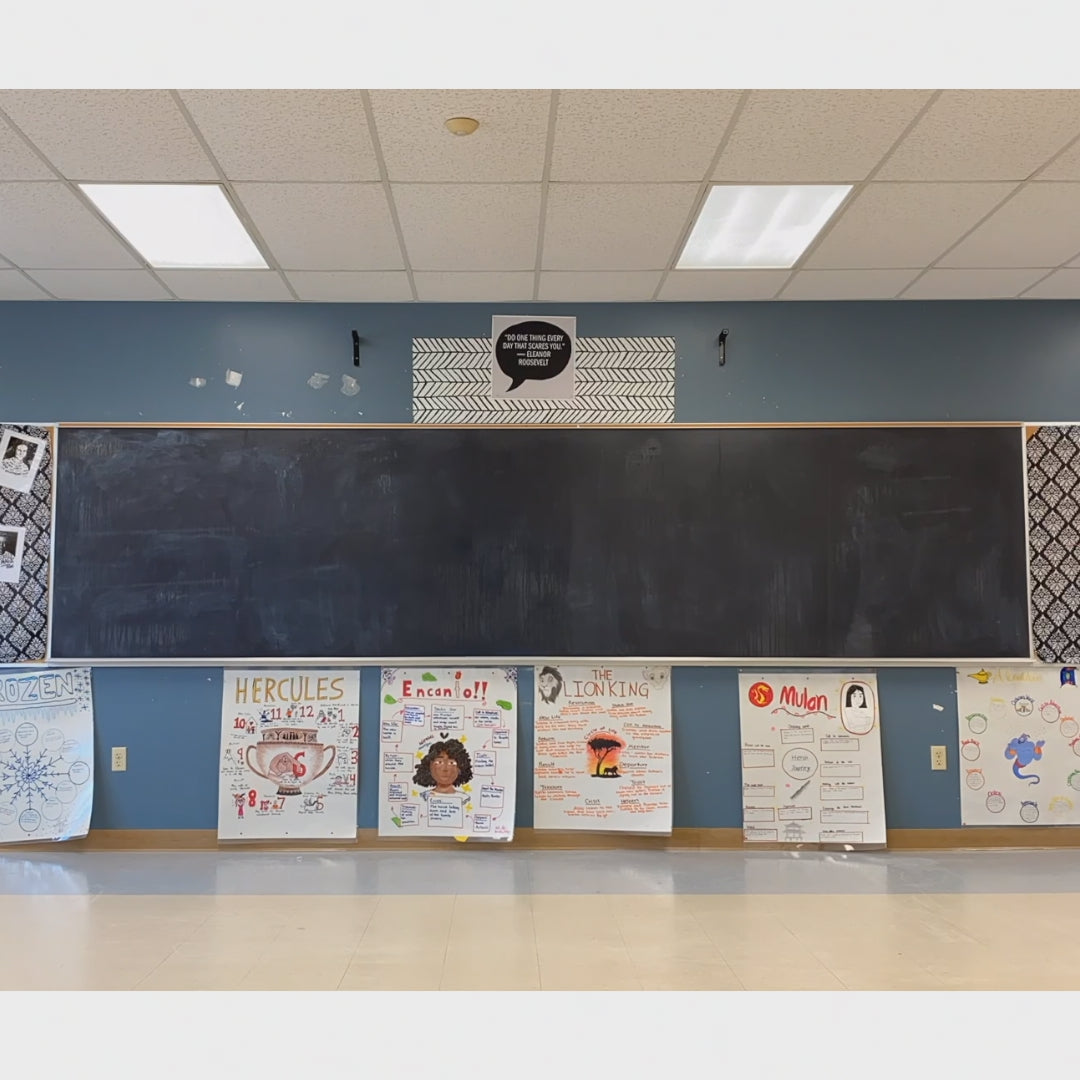
- Rooms with low wall function: Large surfaces exist, yet teachers avoid them.
A Simple Rollout Plan
Step 1: Pick five rooms for a pilot
Choose a mix of grades and subjects.
Step 2: Set one shared goal
Examples include more student work on display, faster feedback, fewer off-task minutes.
Step 3: Collect two weeks of teacher notes
Use short prompts.
- What changed in student participation?
- What changed in pacing?
- What changed in visibility of work?
Step 4: Expand room by room
Use pilot feedback to standardize placement and sizing.

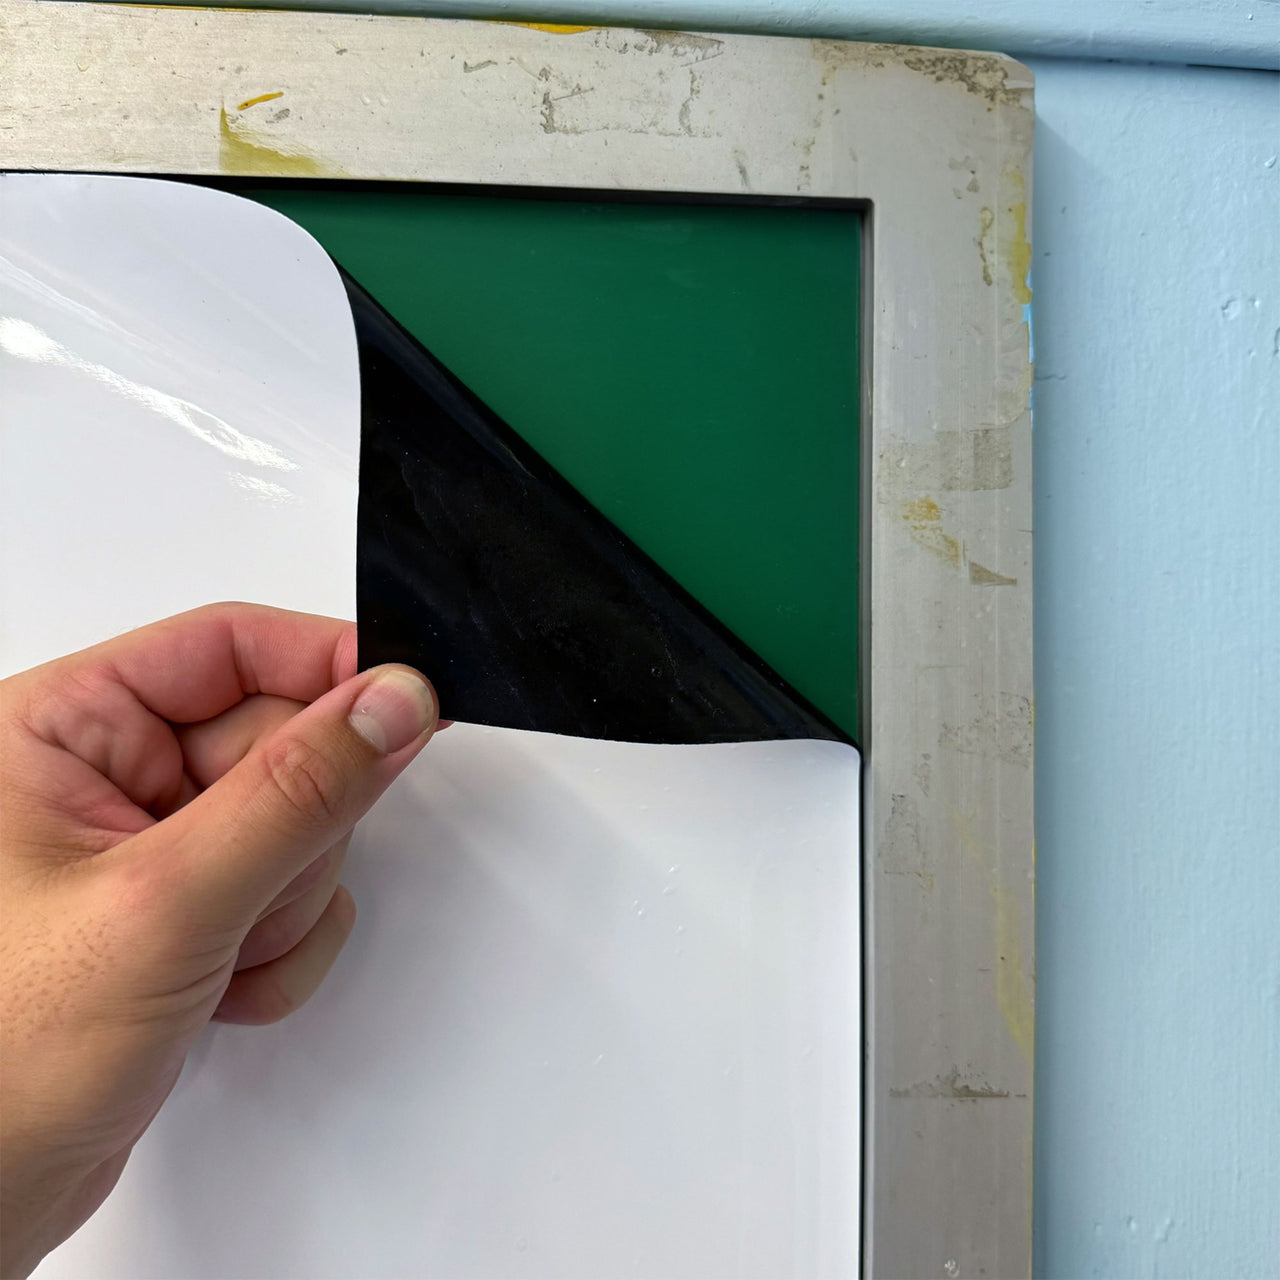
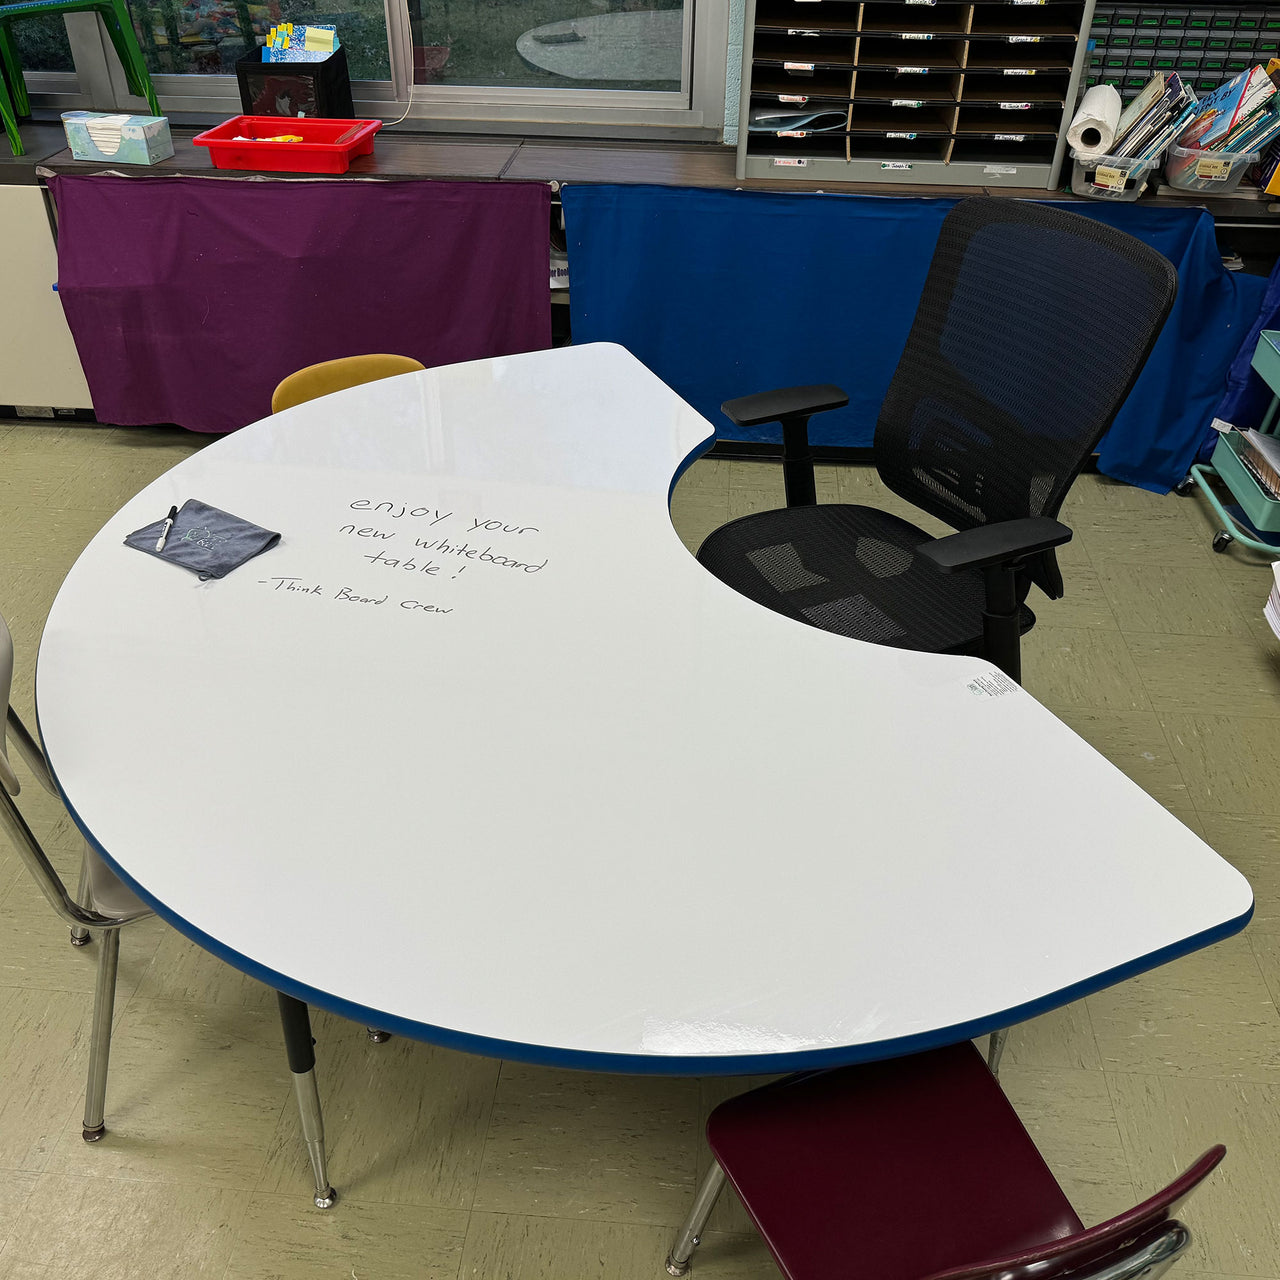
Where Think Board Fits
Think Board surfaces help schools add VNPs without replacing boards. Choose a standard dry erase surface or a magnetic option for rooms where posting matters. You get a clean writing wall with a consistent finish across classrooms. You also avoid uneven results tied to piecemeal purchases.
If you want the most cost-effective upgrade path, start with one pilot set of VNPs. Measure teacher time saved and student participation gained. Then scale across your building with a plan you control.