How to Create a Home Office Whiteboard Setup That Works
Working from home can quickly turn into juggling sticky notes, digital reminders, and random scraps of paper. A home office whiteboard gives you one clear, central place to organize thoughts, track projects, and plan ahead. With the right setup, it becomes more than just a writing surface—it’s a productivity tool that helps keep your workday focused and stress-free.
Why a Whiteboard Belongs in Every Home Office
A whiteboard adds value to your home office in ways that laptops and apps can’t:
- Mental clarity: Jot down ideas and free up headspace.
- Productivity boost: Visual task lists and deadlines are hard to ignore.
- Hybrid work benefits: Works great for solo projects, family schedules, or as a backdrop on video calls.

Step 1: Choose the Right Spot
Placement matters just as much as size. A few good options:
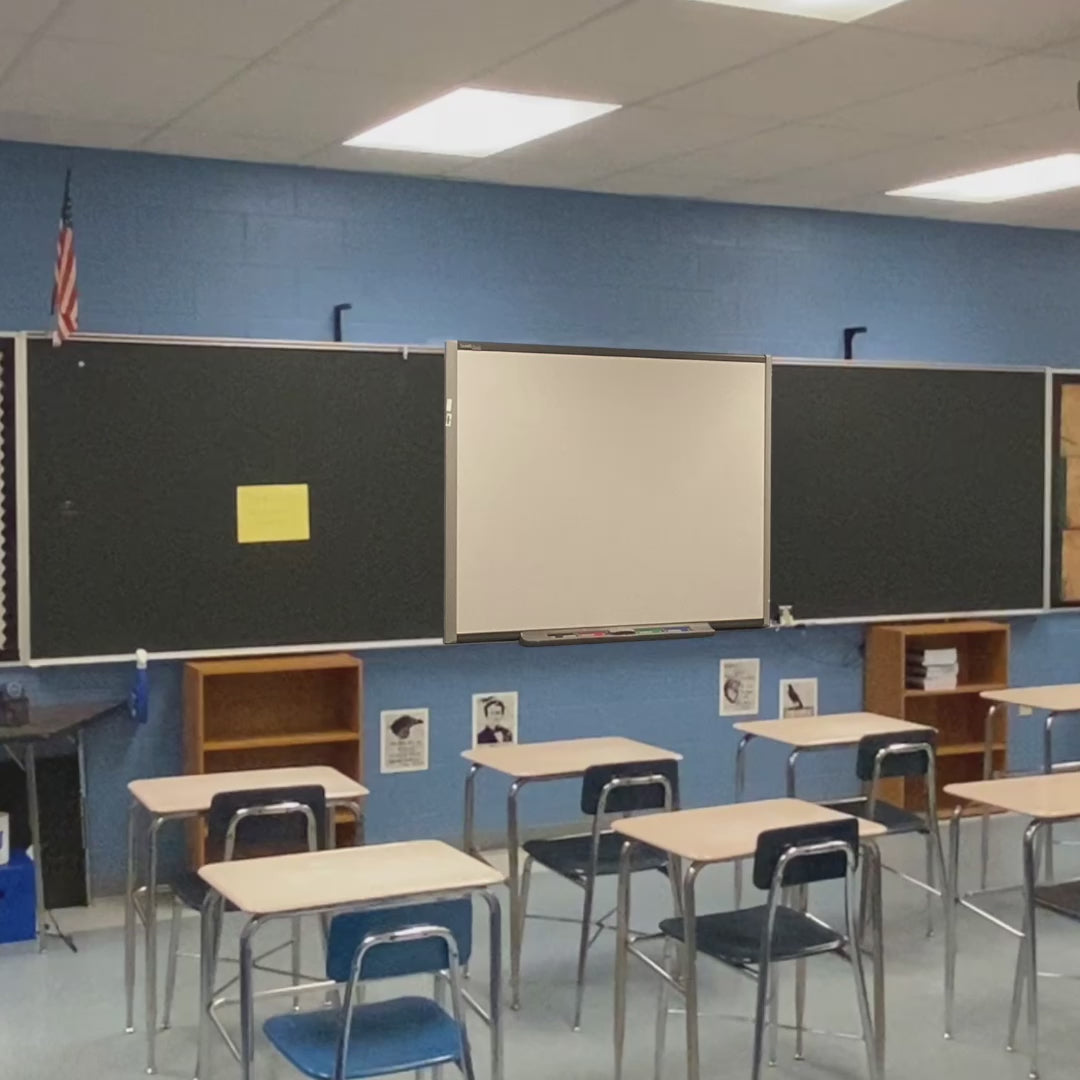
- Behind your desk: Doubles as a professional Zoom background.
- Side wall: Perfect for ongoing notes, brainstorming, or project tracking.
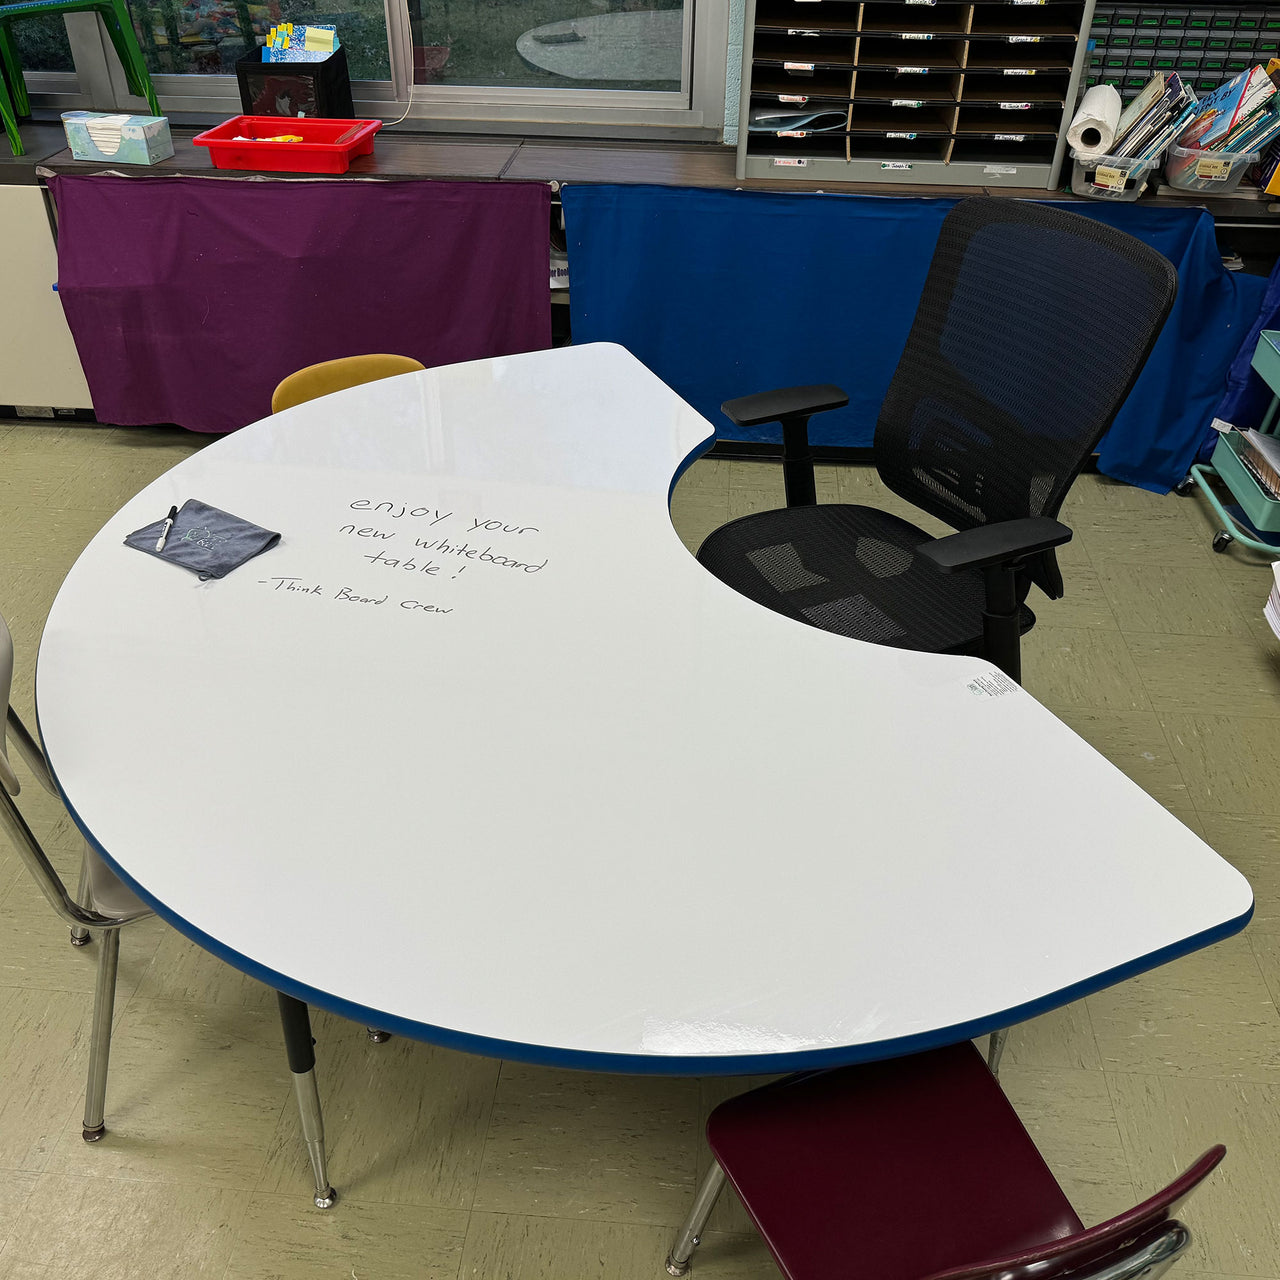
- Smaller spaces: Use doors, closet panels, or even desktops when wall space is limited.
Step 2: Pick the Right Size and Style
Think about your workflow before committing:
- Full wall: Ideal if you want a big canvas for brainstorming and mapping out projects.
- Half wall or framed area: Keeps things compact while still giving you space to plan.
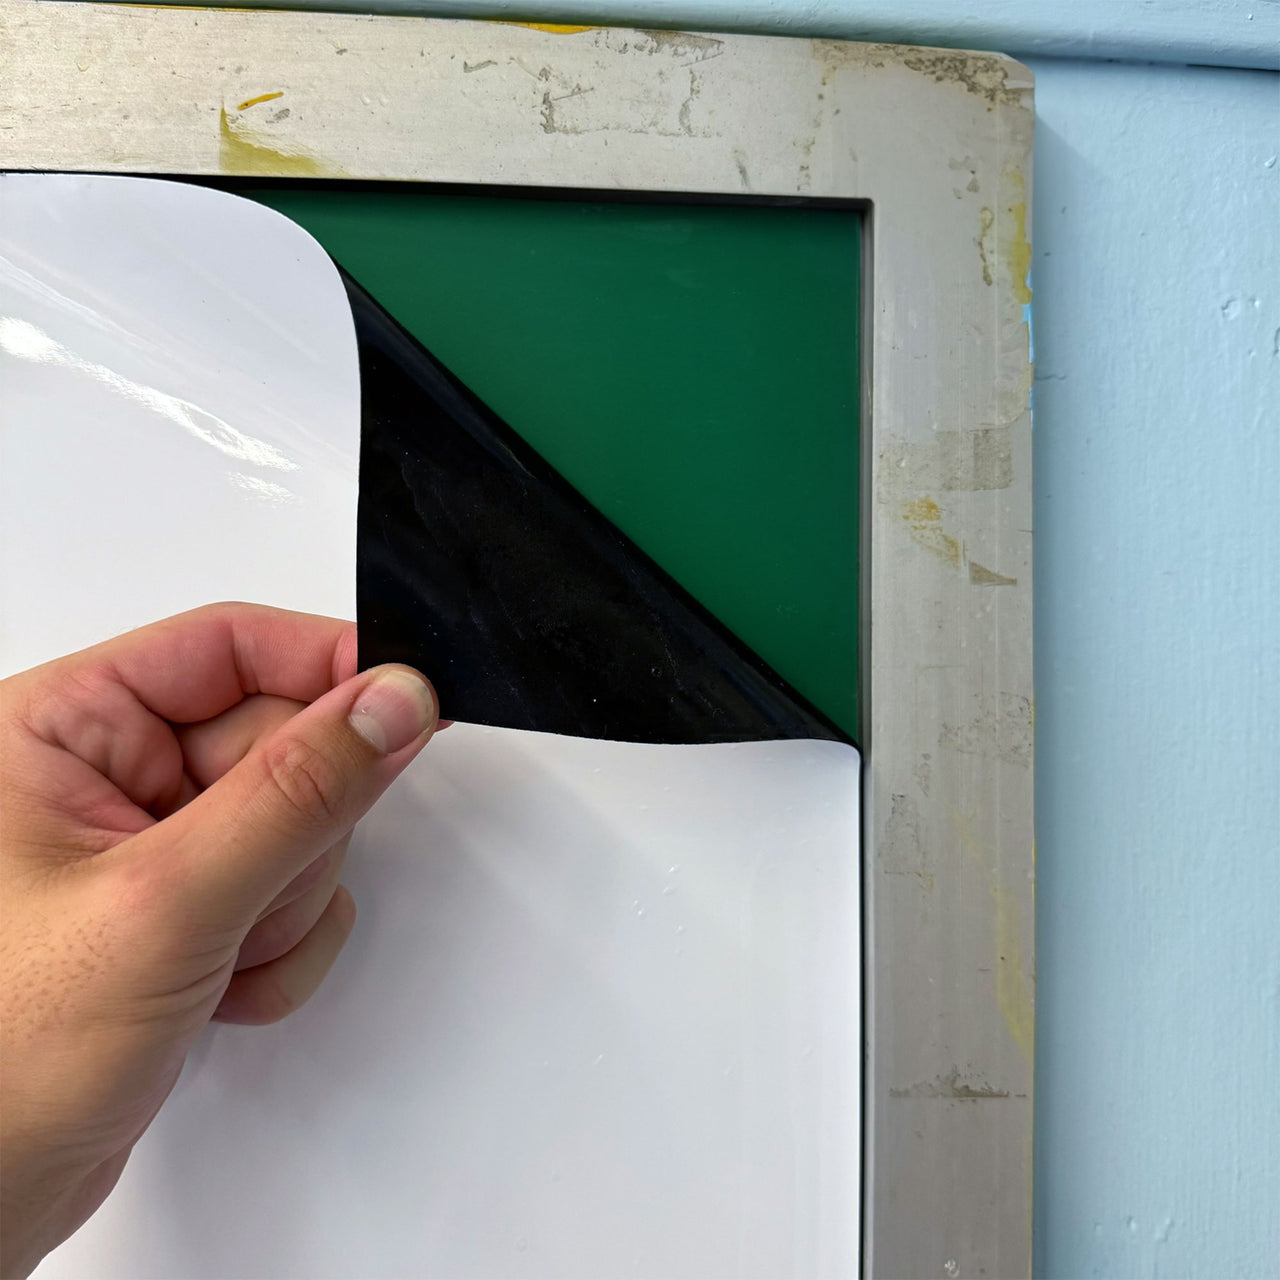
- Transparent film: Apply over windows or glass for a creative, light-filled option.
- Magnetic or non-magnetic: Choose based on whether you want to use magnets for notes and visuals.
Step 3: Set It Up for Success
A little prep work makes your whiteboard last longer and look better:
- Start clean: Smooth, dust-free surfaces are key.
- Add the essentials: Quality markers, erasers, and a cleaning spray make all the difference.
- Think about lighting: Position your board to avoid glare on video calls.

Step 4: Organize Your Workflow
Once the board is up, make it work for you:
- Divide into sections: Calendar, task lists, and notes each get their own space.
- Use colors strategically: Bright shades for urgent tasks, calm tones for long-term goals.
- Blend digital with analog: Take snapshots with your phone and sync with project management tools.
Step 5: Keep It Looking Fresh
Whiteboards only work when they’re clear and easy to use:
- Clean regularly: Prevent ghosting and buildup.
- Refresh seasonally: Wipe everything down and re-map your goals every few months.
- Replace accessories as needed: Markers and erasers wear down faster than you think.
Wrapping Up
A home office whiteboard is one of the simplest upgrades you can make for a more organized, productive workspace. Whether you go with a full wall installation or a small panel next to your desk, the key is to set it up with intention — and use it consistently.
If you’re ready to try it for yourself, Think Board offers easy-to-install whiteboard films that fit almost any home office setup.