
Whiteboard and Chalkboard Resurfacing Installation Guide
This guide covers resurfacing both whiteboards and chalkboards — the 10 steps are the same, and wherever chalkboards need something slightly different you'll see a green "For chalkboards" note. The secret to a beautiful install (and to restoring a whiteboard) is the prep work. Watch the install video below first, then follow the steps — most crews finish a board in under 20 minutes.
Before You Start: Tools & Materials
Check out our recommended tool list before installing. All orders come with a basic set of tools to install (cleaning cloth, retractable knife, squeegee), and we normally include a little scraper too. We also have the option to purchase the Premium Resurfacing Kit if you'd like.
- Microfiber cloth and water (a Think Board microfiber cloth is included with every board)
- Spray bottle with water and 5-10 drops of Baby Shampoo mixed in
- Razor / retractable knife, plus spare blades — a new blade for every 2 or 3 boards isn't a bad idea
- Squeegee
- Rubbing alcohol (for stubborn tape or adhesive)
- If you're resurfacing several boards: a heavy-duty paint scraper
- For old whiteboards with bumps or holes: a sander with 240-600 grit sandpaper, and Spackling paste for filling holes
- A crew of 2 people — add a 3rd person for boards longer than 12 feet
Watch the Install Video
A step-by-step guide to installing your Think Board resurfacing film. Watch it before you start — you'll be happy you did.
1. Clean The Board
Wipe down the board with a microfiber cloth and water. The goal is not to get the original board clean & white — the goal is to remove any dust, debris, or leftover adhesive on the board. We normally include a little scraper to help remove all of this!
The cleaner the board, the better the Think Board will look. :)
Sometimes old whiteboards have raised bumps or holes in them. If needed, take a sander to smooth the surface down a bit — nothing crazy, but just enough to even out that spot (we use 240-600 grit sand paper). If you have the opposite problem, consider filling the hole with Spackling paste and then sanding once dry.
Use a moist rag to wipe around the frame of the board (whiteboard or chalkboard) as well as the marker tray to get rid of any stray dust. Why? Generally, we make the Think Boards a little larger than the boards being resurfaced. This gives you room to hold onto the edge of the Think Board and manipulate it more easily, but it also means more adhesive that can pick up dust or move dust.
Dust will cause tiny debris bumps under the Think Board.

2. Remove Old Tape/Adhesive
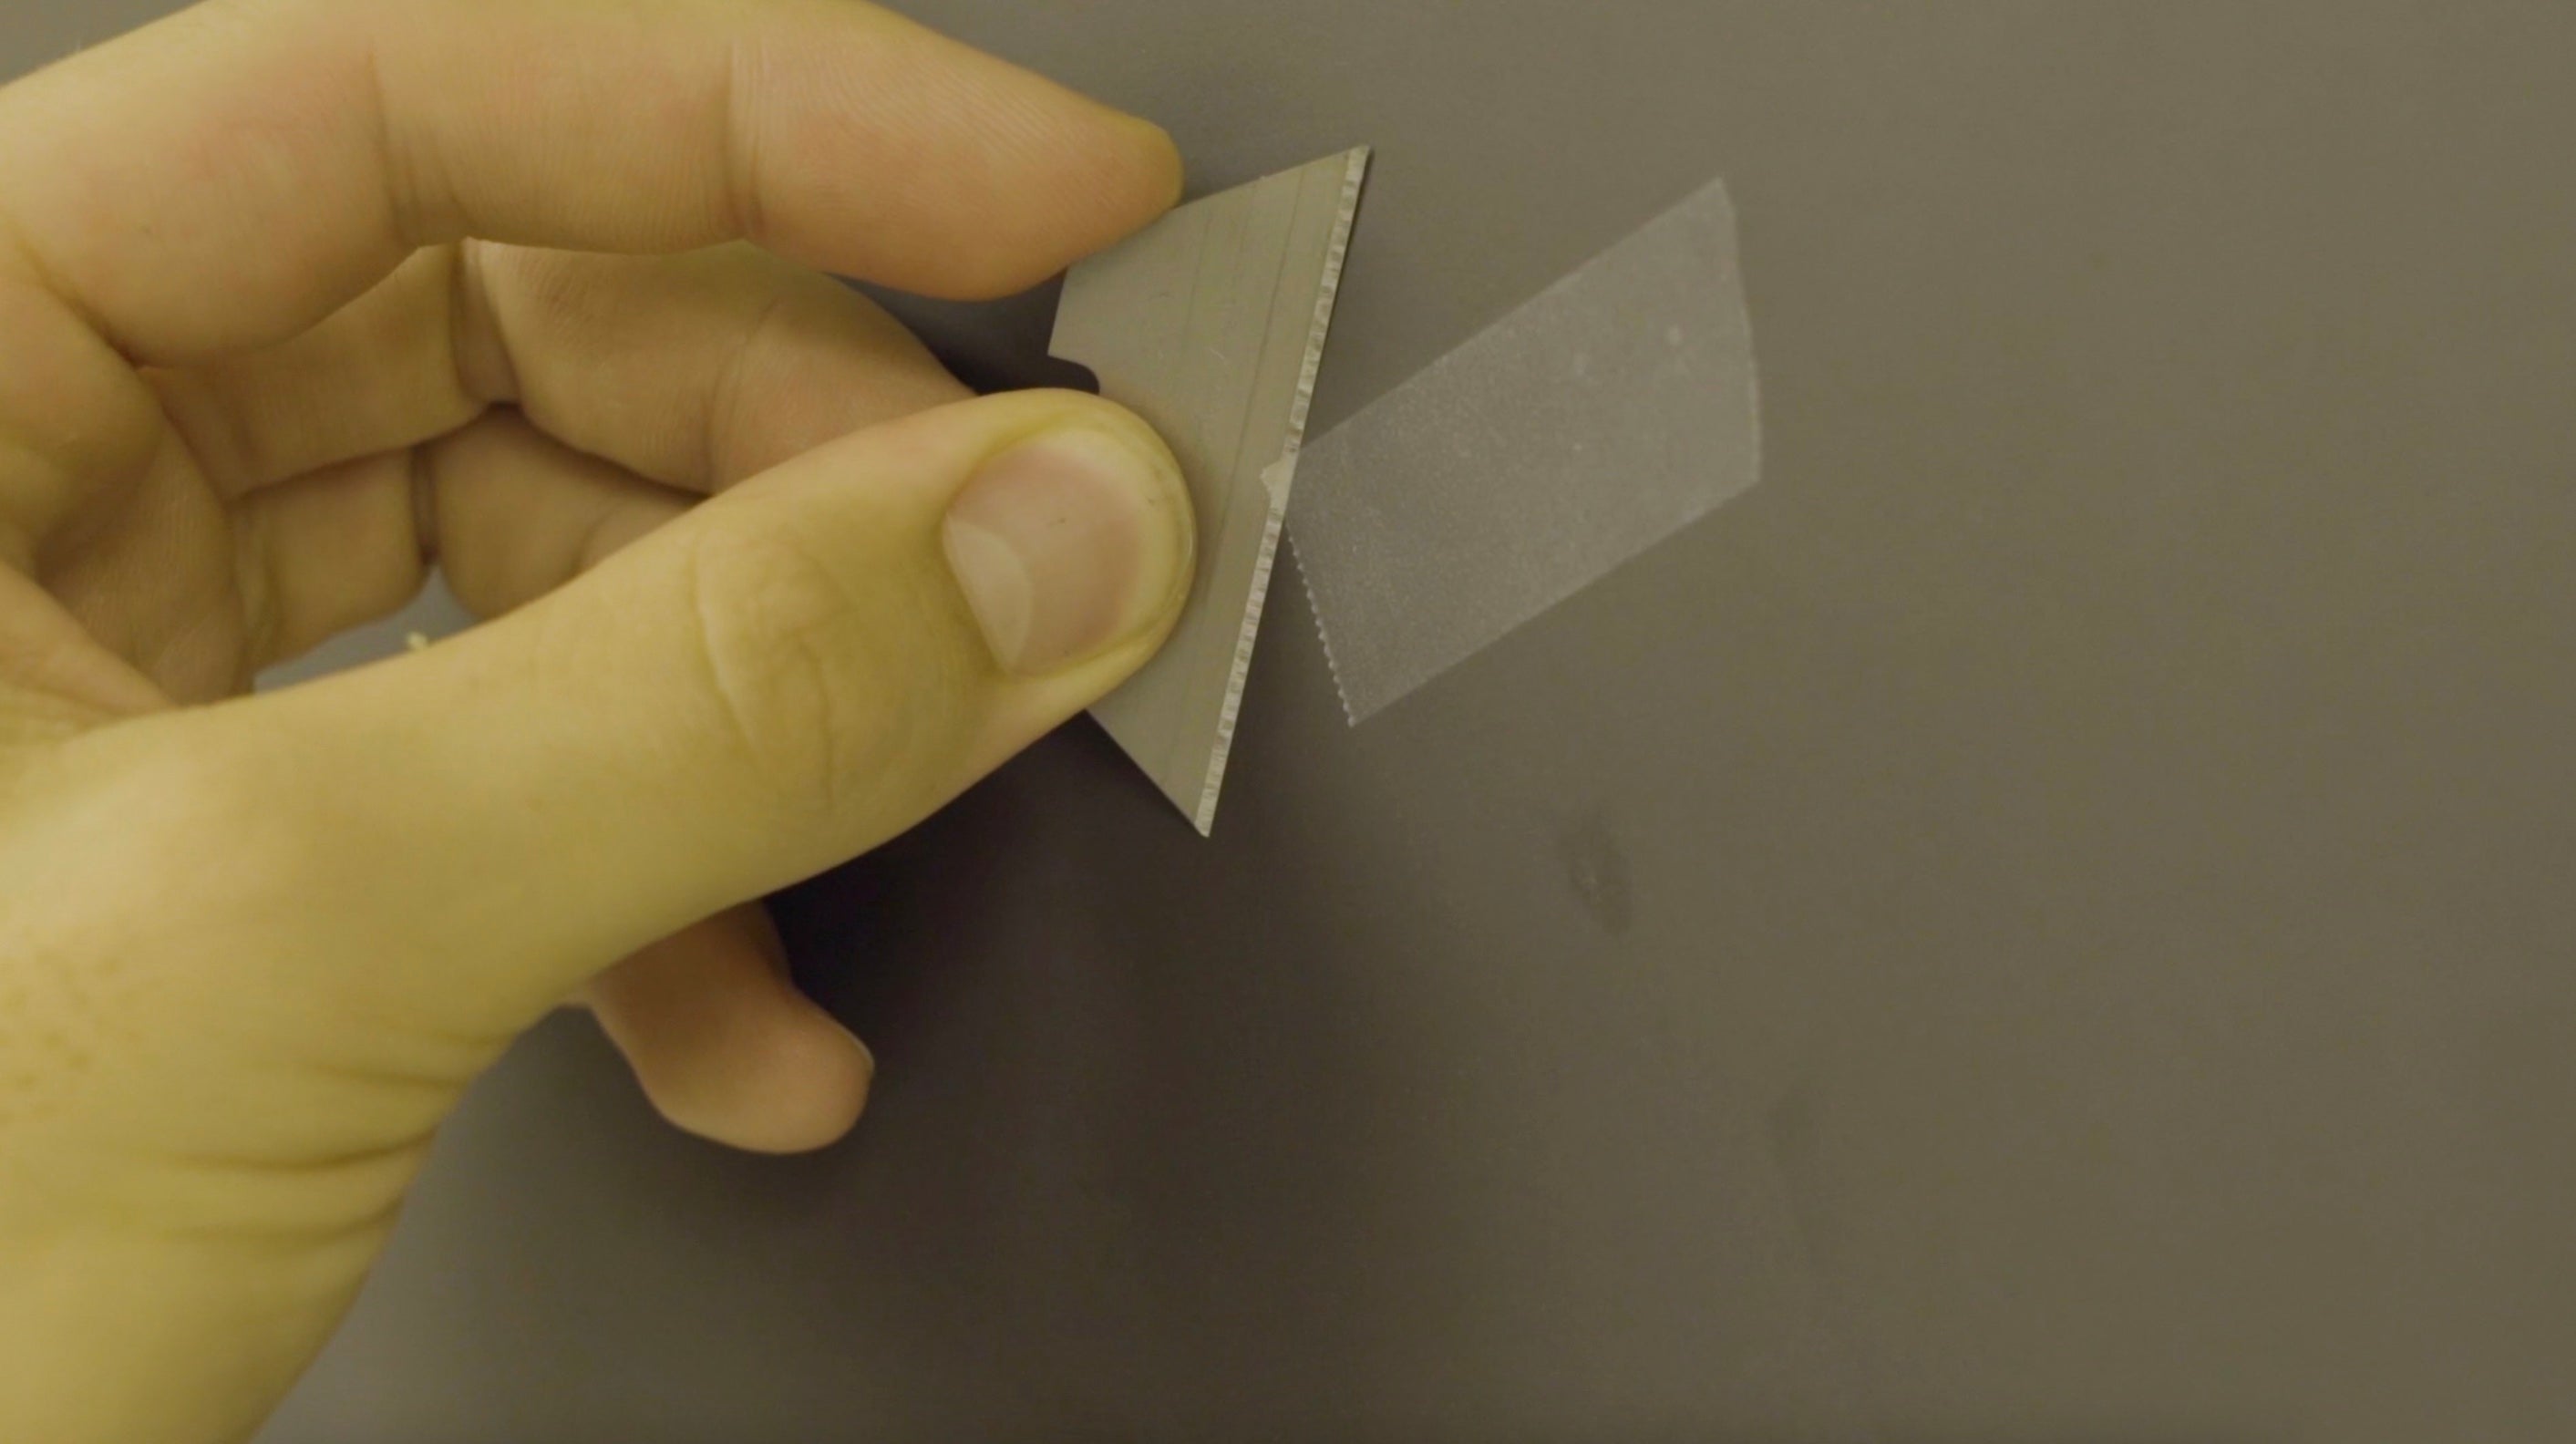
Scrape the original board with a razor to get rid of any tape, paint droplets, glue, or whatever crusty weird stuff is on the board from the last 10-100 years of use.
If you're resurfacing several boards, it's worth it to invest in a heavy-duty paint scraper.
3. Wipe Down With Rubbing Alcohol
If you've got crazy duct tape or something ridiculous that won't clean off, use rubbing alcohol and a microfiber cloth.
Once the board is good to go, we recommend doing one final wipe-down in 1 direction. This helps to push dust in one direction and off your board instead of spreading it around in circles.

4. Mist Old Board With Water & Baby Shampoo
Mix 5-10 drops of Baby Shampoo with water. Spray your old whiteboard down with plenty of solution before you stick the Think Board onto the original surface.
Why? When the board is wet, the Think Board's adhesive won't stick as hard and you'll be pushing water bubbles instead of air bubbles. Water bubbles don't compress, air bubbles do. It will save you time in the long run because you'll be doing much less fixing.
More water always makes the install easier!!

5. Expose 8-12 Inches Of Adhesive And Unroll Onto The Board
Most of the time, we do not have enough table space to lay the Think Board flat and remove the entire backing. So instead, we expose just enough adhesive to create a hinge on one side. With the edge secured in place, you and a 2nd person can then unroll the Think Board while removing the backing from the Think Board.
The goal of this is to simply get the Think Board close to the right position. (This is why cleaning the edges, trays, and anything else that is dusty is important, because this is where the Think Board could accidentally pick up random dust.)


6. Reset The Think Board Into Place
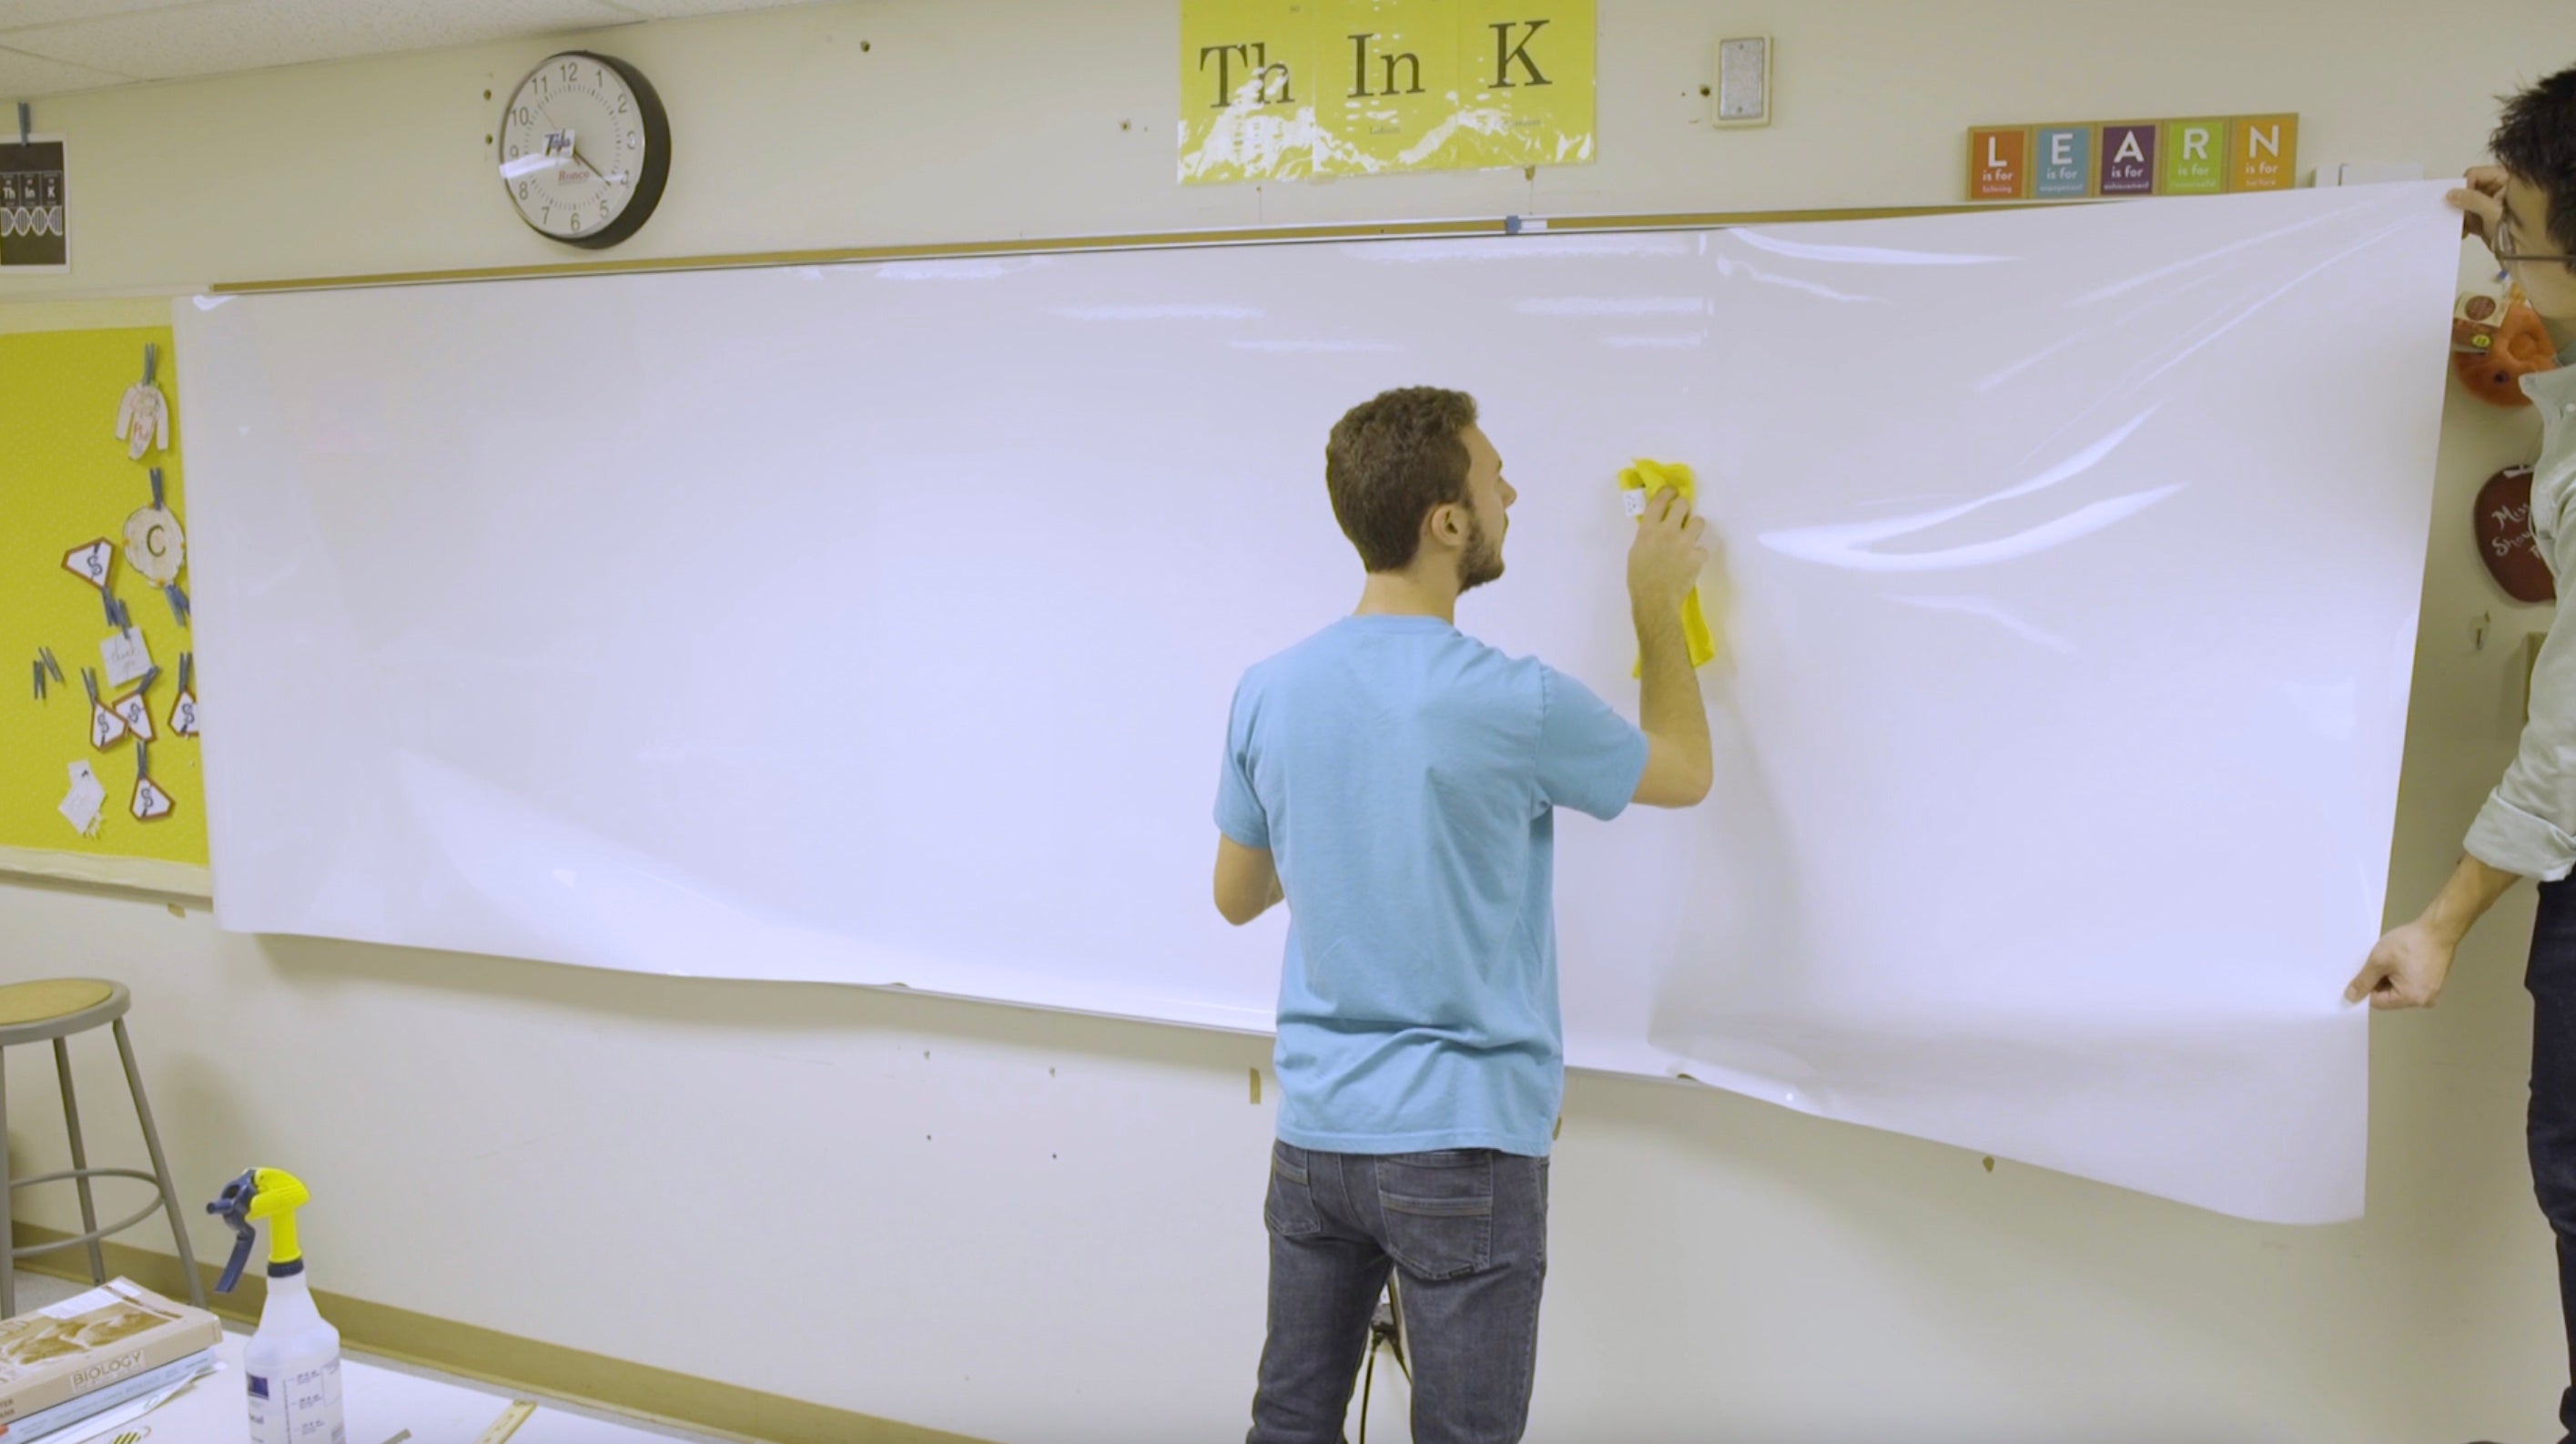
Since the board is wet applied, you can easily adjust the Think Board. You will need a 2nd person for this step. If the board is longer than 12 feet, you will want a 3rd person to support the middle.
Be sure to hold the edges of the Think Board tightly — we've dropped a board or two here.
Peel the Think Board off the old board and gently float it into place. Don't worry, if you don't like how it set onto the board, you can try again. If you retry more than twice, it helps to have someone mist the board again.
Most of the time, we try to align the top edge of the Think Board just below the metal/wood edge. Why? It saves us an extra cut at the end and we can generally get it within 1/16th of an inch.
If you can't get it that close or want to make it a little easier, give yourselves a 1-2 inch overlap on the top. That way, you don't need to worry about alignment. If the board is longer than 12 feet, we recommend overlapping the top edge because the droop in the middle is a little too hard to get perfect — that's where the 3rd person comes in!

7. Squeegee Out The Bubbles, Starting From Center
Once you're happy with how the Think Board is set, touch the top 2 corners of the Think Board onto the old board to make sure they stay in place.
To begin, walk to the center of the board and make a vertical stroke. Start from the middle and push up, and then return to the middle and push down. This creates a center hinge and will allow you to reset the tension on both the left and the right sides.
While standing at the center line with your hands on the Think Board (so it doesn't fall off), have your partner peel back the left side of the Think Board until the center line. This resets the tension. They can either hold it here for you as you begin squeegeeing, or float it back onto the board.
Start squeegeeing in that direction, and make sure that every stroke overlaps the previous one. Normally we do a 12-inch horizontal stroke from the center, pushing left, then overlapping horizontal strokes up to the top, and then overlapping strokes to the bottom. Then we begin the next 12" chunk.
Overlapping strokes will help you prevent leaving behind small gaps which will become bubbles. Once the left side is complete, go back to the center, have your partner reset the right, and repeat.
Bubbles happen when there is extra tension somewhere there should not be, and resetting often helps relieve the tension. If you would like to be extra cautious, squeegee about 1-2 feet, pin the board in place, and have your partner reset — keep repeating this until the edge.
Whenever you adjust the position of the Think Board, check to make sure there is enough water so that you have the flexibility to continue adjusting.

8. Trim The Edges
For cutting the edges, take your squeegee in one hand and your retractable knife in the other hand and run both together around the edge of your original board.
Why? When running the squeegee and the knife together, you have a guide on both sides of the blade — this prevents your hand from slipping. The squeegee also makes sure that the edges are pressed down the best that they can be throughout your cut.
When wet applying, a wet board might not lay perfectly flat when you are cutting into it and pulling at it with the razor. The squeegee will help make sure that everything lays flat as you are cutting.
Replace your knife blades often. A new one for every 2 or 3 boards isn't a bad idea.

9. Add Think Board Sticker & Cloth
We include a Think Board "Best Cleaning Practices" sticker with every board, as well as a Think Board microfiber cloth. We normally place the sticker in the bottom left or bottom right corner of the board.
The cloth can be washed easily in the laundry whenever it gets too dirty.
10. Tell Your Friends :)
Think Board has grown almost entirely on Word Of Mouth. We feel it's much more impactful for someone like you to recommend Think Board to another teacher, school, or district.
So if you're excited about this super-high-quality-amazing-new-whiteboard that you now have in your classroom/school, consider sharing the love and telling others!
We've Got Your Back
We can Facetime/Video Call in and talk you through it if you are having trouble. We are here to help — and if your install really doesn't go well, we can send you another. :)
Just shoot us an email at hello@think-board.com, or call/text (617) 657-9616.